My husband has been asked to take a wedding at Ipsden at the end of July. Now the mother of the bride is the person who had the idea for an Ipsden altar frontal after seeing a wonderful patchwork version on the main altar in York Minster, so … how could I not I have my own fires even more furiously stoked to get ours finished in time for the wedding ? (If things get desperate, I shall quilt all three visible sides and leave the back to be whipped off after the wedding and finished later. Always have a plan B!!)

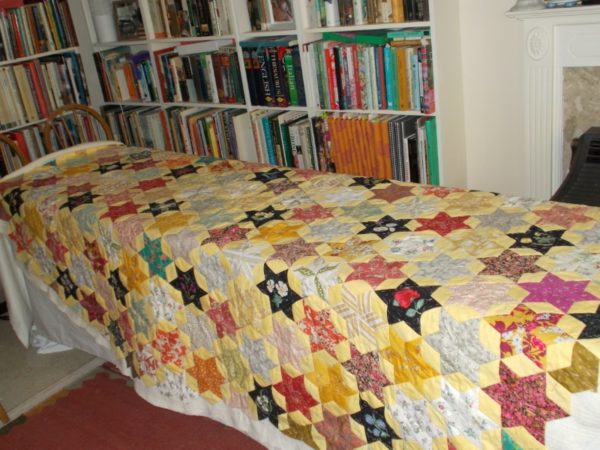
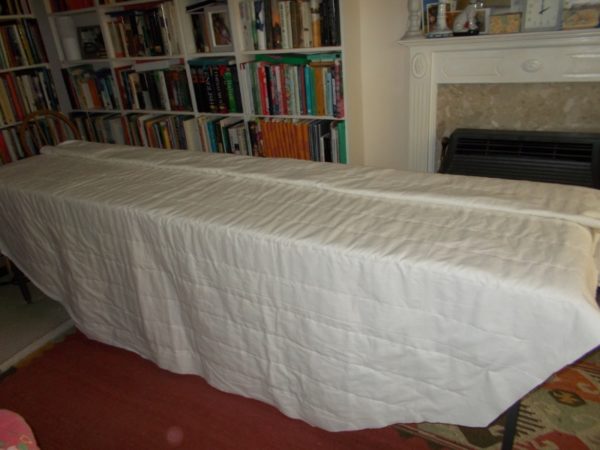
Ipsden altar frontal: wadding and lining tacked up
Phew, I have tacked up the three layers of the altar frontal and the quilting has begun. Not doing this on the floor has saved my knees though at the end of each day my shoulders ache, there’s definitely a hint of tennis elbow (in both elbows) and unthought of stomach muscles have received a work out. Apart from that I feel exuberant at getting something done which I was rather dreading.

Ipsden altar frontal showing lines of tacking about 4 ” / 10 cm apart
Skip the next paragraph which describes how I went about tacking together such a Leviathan (8+ ft by 11 + ft and much bigger than a standard double bed.) It’s more an aide memoire to me as, should I do another quilt, I will definitely do it this way.
After much thought and not a little research online, I came to the conclusion that the best way of assembling the quilt would be to use the two craft tables we had in storage. Each was 4 ft by 2ft and put together lengthwise they were just a few inches short of the quilt’s width. Most quilters suggest putting the wadding on the lining and then adding the patchwork on top. But, as the lining looked a bit off grain, even after a bit of structural tugging to try and straighten things, I chose to first tack the wadding to the patchwork, beginning with aligning the selvedge of the wadding to the central line of the patchwork. Once this was secured I lined this edge up with the edge of the table and carefully let drop the half of the quilt not currently to receive the wadding over the far side and folded it up neatly on the floor. It was then surprisingly easy to make smooth the wadding over the patchwork and to pin pearl headed pins in lines equidistant from the first line of tacking. ( I began pinning in the middle – where the two tables met and worked outwards to first one side of the tables and then the other.) I did four lines of pins at a time and then with four separate needles loaded up I tacked as far as I could reach without moving – in this way I managed a third of the width from each position. As I completed each set of four rows of tacking, I pulled the completed part over the table to concertina on to the as yet undone other half of the quilt. With a whole half done, I picked the quilt up and swung it round so the finished half lay loosely folded on the floor and the rest lay on the table (with just a small amount on the floor). Should I have had enough room, I would have just moved round to the other side of the table. I then tacked the wadding’s selvedge alongside the already secured selvedge, went back and joined both together with a loose herringbone stitch and continued with this half as before. The lining’s centre seam I joined by machine and I then matched this join with the joined wadding. I then repeated what I’d done with the wadding. Great was my joy when with all the layers joined I discovered the grain of the lining matched up with edge of the patchwork.
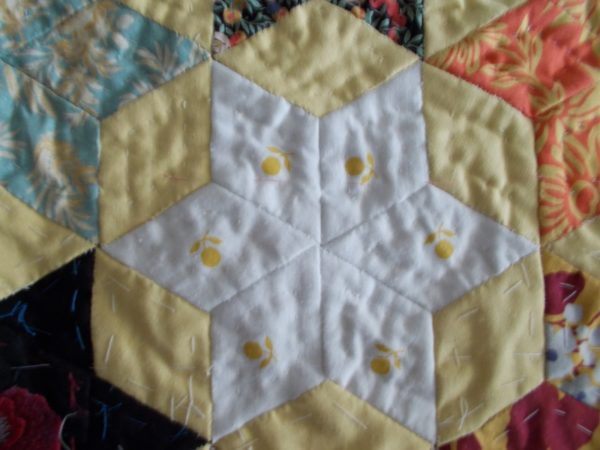
Now, the quilt stitching begins. Just a simple echoing of the diamonds, I think. The stars with embroidered flowers I won’t divide up but just outline the whole star. I might outline the flower itself in a fine cotton thread – I’ll see.

Ipsden altar frontal : a quilted star


